iTop Community, to manage your IT assets
This use case will be useful to companies looking for an open source solution that fosters ITIL best practices: iTop Community, from Combodo.
Requirements for this use case
There are a number of actions involved in the overall deployment, and plumbery will assist to orchestrate all of them, except the online setup of iTop:
- Add a Network Domain
- Add an Ethernet network
- Deploy a Ubuntu server
- Monitor this server
- Assign a public IPv4 address
- Add address translation to ensure end-to-end IP connectivity
- Add firewall rule to accept TCP traffic on port 22 (ssh) and 80 (web)
- Update etc/hosts to bind addresses to host names
- Manage keys to suppress passwords in SSH connections
- Download multiple packages, including Apache, PHP, MySQL
- Install MySQL
- Download and install iTop
Fittings plan
Download this fittings plan if you want to hack it for yourself. This is part of the demonstration
directory of the plumbery project at GitHub. Alternatively, you can copy the
text below and put it in a text file named fittings.yaml.
1 2 3 4 5 6 7 8 9 10 11 12 13 14 15 16 17 18 19 20 21 22 23 24 25 26 27 28 29 30 31 32 33 34 35 36 37 38 39 40 41 42 43 44 45 46 47 48 49 50 51 52 53 54 55 56 57 58 59 60 61 62 63 64 65 66 67 68 69 70 71 72 73 74 75 76 77 78 79 80 81 82 83 84 85 86 87 88 89 90 91 92 93 94 95 96 97 98 99 100 101 102 103 104 105 106 107 108 109 110 111 112 113 114 115 116 117 118 119 120 121 122 123 124 125 126 | ---
defaults:
cloud-config: # default for all nodes created by plumbery
ssh_keys: # generated randomly, and used on subsequent invocations
rsa_private: |
{{ key.rsa_private }}
rsa_public: "{{ key.rsa_public }}"
users:
- default
- name: ubuntu
sudo: 'ALL=(ALL) NOPASSWD:ALL'
ssh-authorized-keys:
- "{{ key.rsa_public }}"
- "{{ local.rsa_public }}"
- name: root
ssh-authorized-keys:
- "{{ key.rsa_public }}"
- "{{ local.rsa_public }}"
disable_root: false
ssh_pwauth: false
---
locationId: AU10
regionId: dd-au
blueprints:
- itop:
domain: &domain
name: iTopFox
description: "Demonstration of iTop server"
ipv4: auto
ethernet: ðernet
name: iTopNetwork
subnet: 10.0.0.0
nodes:
- itop:
description: "#itop #ubuntu"
information:
- "an iTop server:"
- "http://{{ node.public }}"
- "use following parameters for MySQL:"
- "host: localhost"
- "user: root"
- "password: {{ mysql_root.secret }}"
appliance: 'Ubuntu 14'
cpu: 2
memory: 4
glue:
- internet 22 80
monitoring: essentials
cloud-config:
hostname: "{{ node.name }}"
bootcmd:
- echo "mysql-server mysql-server/root_password password {{ mysql_root.secret }}" | sudo debconf-set-selections
- echo "mysql-server mysql-server/root_password_again password {{ mysql_root.secret }}" | sudo debconf-set-selections
packages:
- ntp
- apache2
- mysql-server
- php5
- php5-mysql
- php5-ldap
- php5-mcrypt
- php5-cli
- php-soap
- php5-json
- graphviz
- unzip
write_files:
- path: /root/hosts.awk
content: |
#!/usr/bin/awk -f
/^{{ node.public }}/ {next}
{print}
END {
print "{{ node.public }} {{ node.name }}"
}
- path: /home/ubuntu/.my.cnf
permissions: '0400'
content: |
[client]
user=root
password={{ mysql_root.secret }}
runcmd:
- echo "===== Handling ubuntu identity"
- cp -n /etc/ssh/ssh_host_rsa_key /home/ubuntu/.ssh/id_rsa
- cp -n /etc/ssh/ssh_host_rsa_key.pub /home/ubuntu/.ssh/id_rsa.pub
- chown ubuntu:ubuntu /home/ubuntu/.ssh/*
- sed -i "/StrictHostKeyChecking/s/^.*$/ StrictHostKeyChecking no/" /etc/ssh/ssh_config
- echo "===== Updating /etc/hosts"
- cp -n /etc/hosts /etc/hosts.original
- awk -f /root/hosts.awk /etc/hosts >/etc/hosts.new && mv /etc/hosts.new /etc/hosts
- echo "===== Installing iTop"
- curl -L -o itop.zip https://sourceforge.net/projects/itop/files/latest/download
- unzip itop.zip
- rm /var/www/html/index.html
- mv web/* /var/www/html
- chown -R www-data:www-data /var/www/html
|
Deployment commands
$ python -m plumbery fittings.yaml deploy
This command will build fittings as per the provided plan, and start server as well. Look at messages displayed by plumbery while it is working, so you can monitor what’s happening.
Follow-up commands
At the end of the deployment, plumbery will display on screen some instructions to help you move forward. You can ask plumbery to display this information at any time with the following command:
$ python -m plumbery fittings.yaml information
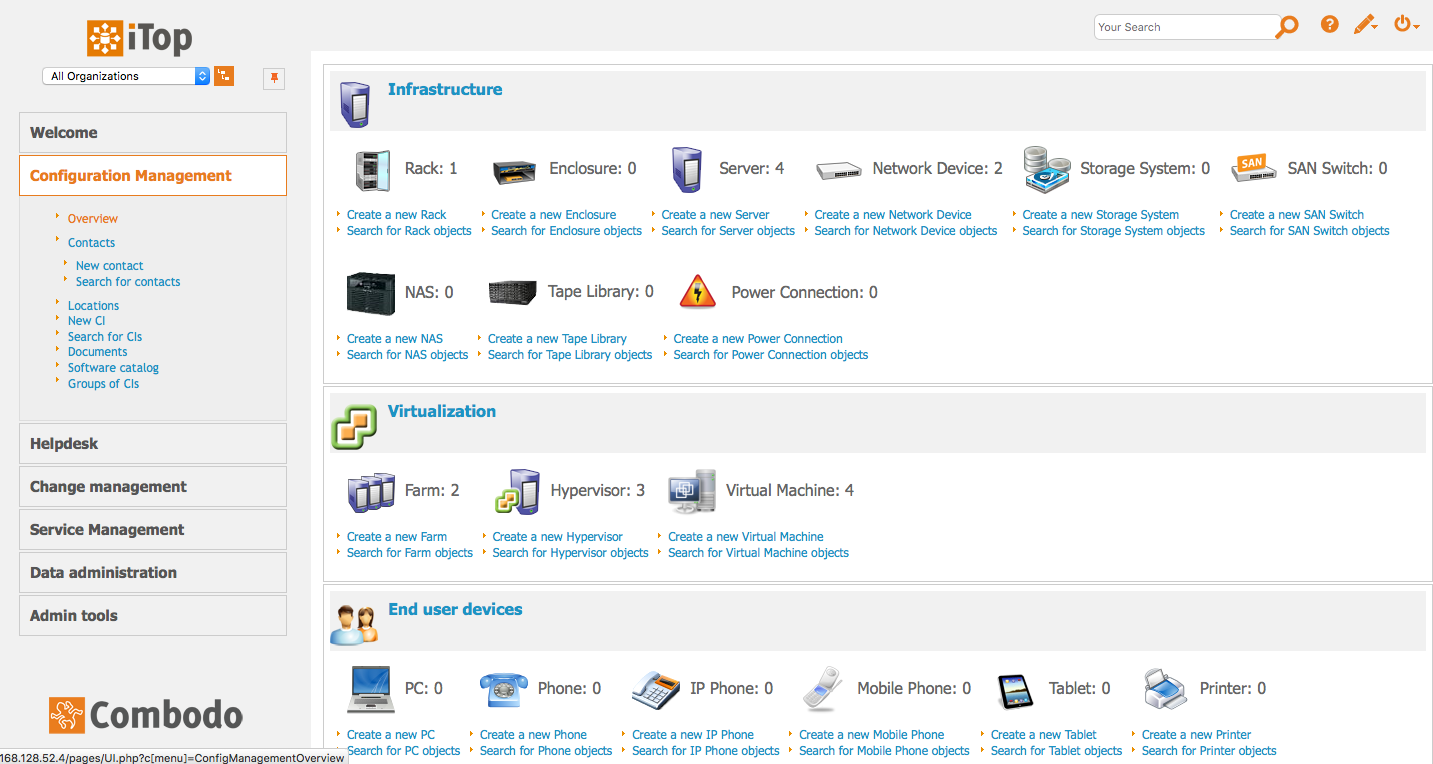
Final step is to connect to iTop in a web browser, and to complete the setup online.
Destruction commands
To destroy everything and stop the bill you would do:
$ python -m plumbery fittings.yaml dispose